

From sign-up to first feedback in under 15 minutes. Here’s exactly how to set up SnapFeed for a client project.
Step 1: Create Your Account
Go to snapfeed.app/register and sign up with your email address.
You’ll be on the free plan by default, which includes:
- 1 project
- Up to 10 feedback items per month
- Full AI analysis
- Team collaboration
This is enough to test with a client project before committing.
Step 2: Create a Project
After logging in, you’ll land on the Dashboard. Click New Project.
Fill in:
- Project Name: Use your client’s name or project name (e.g., “Kowalski Corp Redesign”)
- Project URL: The staging URL where you’ll embed the widget (e.g.,
staging.kowalskicorp.com)
Click Create Project. You’ll see your project dashboard with your unique Widget Key — a string like sf_abc123xyz.
Keep this safe. It identifies your project and is used in the widget embed code.
Step 3: Configure Project Settings
Before embedding, configure the settings that affect how feedback is collected.
Widget Settings
Go to Project Settings → Widget:
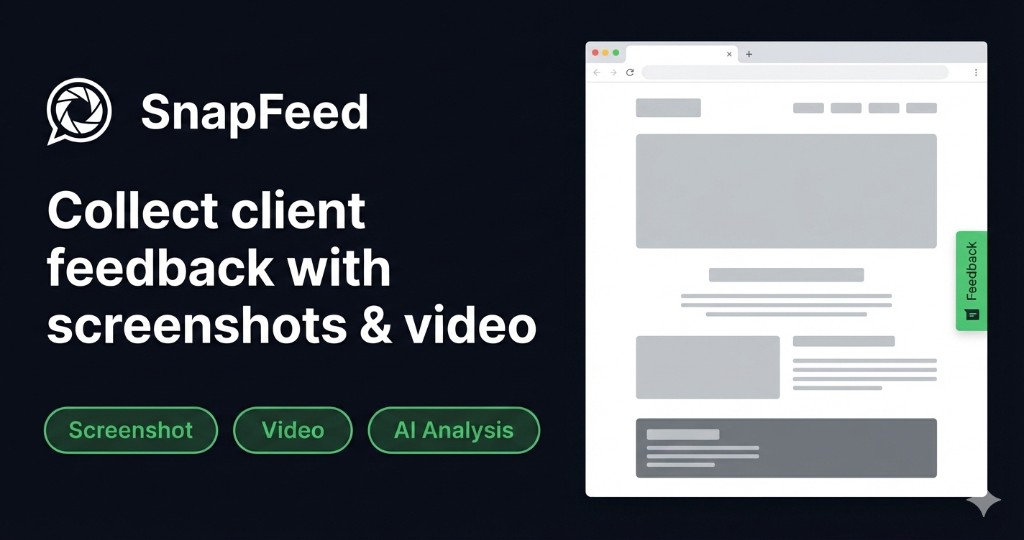
- Widget Position: Where the feedback button appears (bottom-right is standard)
- Button Text: Customize what the button says (e.g., “Report Issue”, “Give Feedback”)
- Primary Color: Match your client’s brand so the widget feels native
- Allow Screenshots: On by default — clients can annotate screenshots
- Allow Video Recordings: Enable if you want clients to record screen sessions
AI Settings
Go to Project Settings → Widget → AI:
- AI Auto-Analyze: Turn on to automatically categorize and prioritize every incoming feedback item
- AI Language: Set to match your team’s working language
Notifications
Go to Project Settings → Notifications:
- Email Notifications: Get notified when new feedback arrives
- Daily Digest: Summary email of all feedback received in the last 24 hours
Step 4: Embed the Widget
Copy the embed snippet from your project dashboard. Paste it into your staging site, just before the closing </body> tag:
<script>
  (function(w,d,s,o,f,js,fjs){
    w['SnapFeed']=o;w[o]=w[o]||function(){(w[o].q=w[o].q||[]).push(arguments)};
    js=d.createElement(s),fjs=d.getElementsByTagName(s)[0];
    js.id=o;js.src=f;js.async=1;fjs.parentNode.insertBefore(js,fjs);
  }(window,document,'script','sf','https://snapfeed.app/widget.js'));
  sf('init', 'YOUR_WIDGET_KEY');
</script>
Replace YOUR_WIDGET_KEY with the key from your dashboard.
Embedding in Common Platforms
WordPress: Use the “Insert Headers and Footers” plugin. Paste in the “Scripts in Footer” section.
Webflow: Site Settings → Custom Code → Footer Code.
Shopify: Theme editor → theme.liquid → paste before </body>.
Next.js / React: Add to your _document.js or use next/script with strategy="afterInteractive".
HTML/static: Paste directly in every HTML file you want covered, or in a shared layout file.
Step 5: Verify the Widget is Working
After embedding, open your staging site. You should see a small feedback button (usually bottom-right corner).
Click it. Submit a test feedback item. Then go back to your SnapFeed dashboard — you should see it appear within seconds.
If it doesn’t appear:
- Check your browser console for errors
- Verify the widget key is correct (no extra spaces)
- Make sure the script tag is in the correct location (before
</body>)
Step 6: Invite Your Team
Go to Project → Team and invite your developers and designers.
Available roles:
- Admin: Full access, can manage settings and team
- Editor: Can view, comment on, and update feedback status
- Viewer: Read-only access (good for clients who want to watch progress)
Enter email addresses and select roles. They’ll get an invitation email with a link to join.
Giving Clients View-Only Access
If you want your client to see feedback status without being able to add their own items through the dashboard, add them as Viewer. They can track progress without cluttering the feedback stream.
Step 7: Explain the Widget to Your Client
Send your client a short email (or Loom video) explaining how to use it:
“Hi [Name], the staging site is ready for your review at [URL]. You’ll notice a small feedback button in the corner.
To submit feedback: click the button, then click on the element you want to comment on. A screenshot will be captured automatically. Add your notes and click Submit.
Your feedback goes directly to our team and we’ll update you as we address each item.”
A 60-second Loom video showing this process dramatically improves feedback quality.
Step 8: Process Incoming Feedback
Your feedback dashboard shows all items in chronological order. You can:
- Filter by status, category, tag, or date
- Switch to Kanban view to visualize workflow stages (New → In Review → Resolved)
- Comment on individual feedback items to ask for clarification
- Update status to keep the client informed
- Export to CSV for reporting
When an item is resolved, update its status to Resolved. The client can verify by checking the element on staging.
Workflow Tip: The Daily Review
At the start of each project day, spend 5–10 minutes reviewing new feedback:
- Triage: Bug, design issue, or feature request?
- Priority: Assign priority based on AI suggestion or your judgment
- Assign: Tag the developer or designer responsible
- Estimate: Add a rough time estimate if useful
This daily review prevents feedback pile-up and keeps clients feeling heard.
Need help setting up? Reach out via our contact page or check the dashboard help menu.