

Every web agency knows the pain. You send a staging link to a client, they respond with an email that says “The button on page 3 doesn’t look right” — and now you’re trying to figure out which page, which button, what “doesn’t look right” means, and whether they’re looking at it on desktop or mobile.
Visual feedback changes everything. Here’s how to implement it properly.
The Problem With Traditional Feedback
Traditional client feedback follows a predictable, painful pattern:
- You send a staging link
- Client opens it on their phone at 11pm
- They screenshot something, add it to a 15-person email chain
- Their colleague responds “Yes, I noticed that too” without any context
- Their boss replies-all with “What’s the status on this?”
- You spend 2 hours piecing together what they actually want
By the time you understand the feedback, you’ve already wasted more time than the fix would have taken.
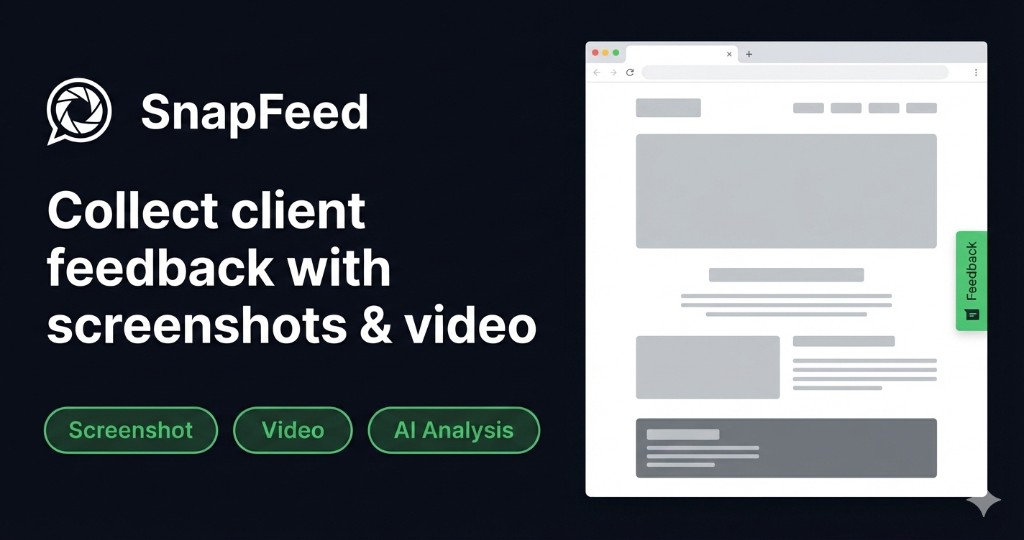
What Visual Feedback Actually Means
Visual feedback tools let clients click on any element of your website and leave a comment directly on the element. The tool captures:
- A screenshot of exactly what they’re seeing
- The coordinates of where they clicked
- Their browser, OS, and viewport size
- The URL they’re on
- Any text they add to describe the issue
This context-rich data means you immediately know:
- What they’re looking at
- Where on the page it is
- What environment they’re using
Setting Up a Visual Feedback Workflow
Step 1: Embed the Widget on Staging
The key is deploying the feedback widget only on your staging environment, not production. You don’t want random visitors submitting feedback.
<!-- Add to staging only -->
<script>
  (function(w,d,s,o,f,js,fjs){
    w['SnapFeed']=o;w[o]=w[o]||function(){(w[o].q=w[o].q||[]).push(arguments)};
    js=d.createElement(s),fjs=d.getElementsByTagName(s)[0];
    js.id=o;js.src=f;js.async=1;fjs.parentNode.insertBefore(js,fjs);
  }(window,document,'script','sf','https://snapfeed.app/widget.js'));
  sf('init', 'YOUR_WIDGET_KEY');
</script>
Step 2: Define Your Feedback Categories
Before sending the link, tell clients what kinds of feedback you want:
- Bug reports: Something is broken or not working as expected
- Design feedback: Visual elements that need adjustment
- Content feedback: Text, images, or copy that needs changes
- Functionality requests: New features (save these for scope creep conversations)
Step 3: Set Review Rounds
Define upfront how many review rounds are included in the project. “Unlimited feedback” leads to scope creep. Instead:
“This project includes 2 review rounds. Round 1 closes on [date]. Round 2 starts after we implement Round 1 changes.”
Step 4: Process Feedback Systematically
When feedback comes in, don’t just fix things ad-hoc. Process it systematically:
- Triage: Is this in scope? Is it a bug or a change request?
- Prioritize: Critical bugs first, cosmetic changes last
- Group: Combine related feedback items
- Respond: Always acknowledge receipt and estimated completion
- Close: Mark items resolved and ask client to verify
The Difference Visual Context Makes
Here’s a real example. Without visual feedback:
“The hero section looks off on mobile”
With visual feedback (via screenshot + coordinates):
“Hero section - Samsung Galaxy S21, Chrome 118, 412×915px viewport. The CTA button overlaps the tagline text at this breakpoint. Here’s the exact pixel where the overlap starts.”
That’s the difference between a 20-minute debugging session and a 2-minute fix.
Common Mistakes to Avoid
Mistake 1: Giving clients infinite review time
Set clear deadlines. “Feedback due by Friday, 5pm” prevents the project from lingering in review limbo.
Mistake 2: Not educating clients on the tool
Send a 90-second Loom video showing clients how to submit feedback. This dramatically improves feedback quality.
Mistake 3: Not separating bug reports from change requests
Bugs (things broken from the spec) are included in scope. Change requests (client changed their mind) are not. Use labels or categories to separate these clearly.
Mistake 4: Ignoring the feedback backlog
Old, unaddressed feedback breeds frustration. Review your feedback dashboard daily during active projects.
The ROI of Structured Visual Feedback
Agencies that implement structured visual feedback workflows report:
- 40-60% fewer feedback rounds — because context-rich feedback leads to correct implementations
- 50% reduction in revision emails — feedback happens in the tool, not email
- Higher client satisfaction scores — clients feel heard and can track progress
- Faster project closure — clear feedback = clear done criteria
Getting Started
The fastest way to implement visual feedback:
- Create a free SnapFeed account
- Add your first project and get your widget key
- Embed the widget on your next staging deployment
- Send the staging URL to your client with a brief explanation of how to use it
You’ll see the difference in client communication quality immediately.
SnapFeed is a visual feedback tool built specifically for web agencies. Try it free — no credit card required.